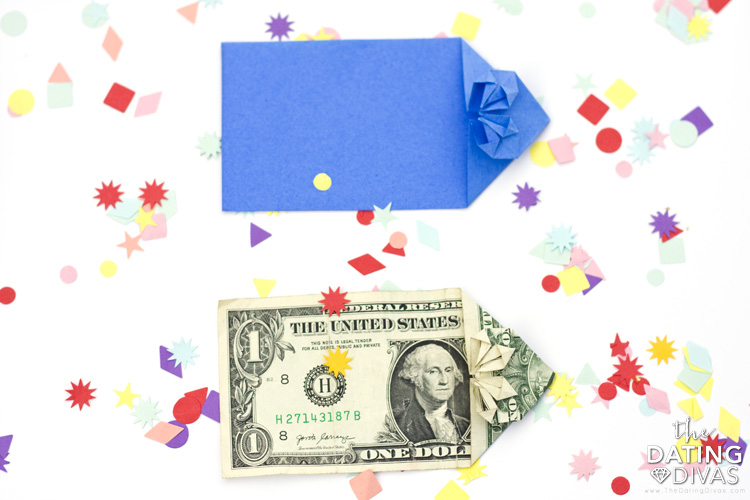
Check out this EASY 10-step guide for how to make a dollar bill origami heart!
Origami Dollar Heart Step-By-Step Guide
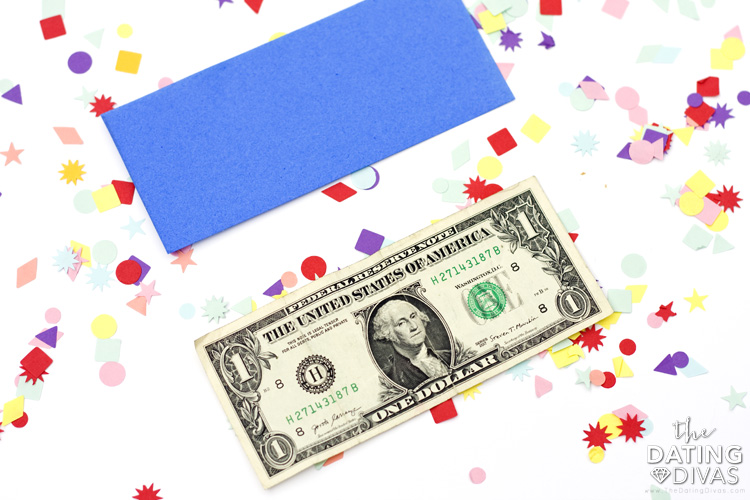
Start with either a crisp, paper bill, or a rectangular piece of paper.
Step 1:
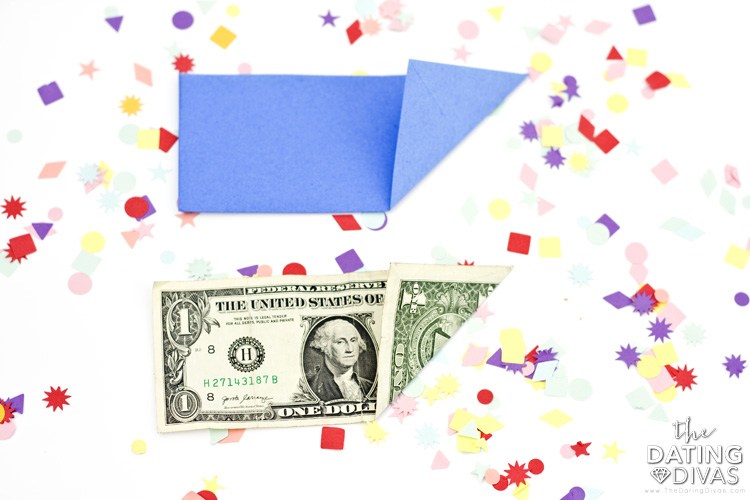
Fold the corner of the paper diagonally to the opposite side. After it’s creased, unfold it. Now, fold the other corner diagonally to the opposite side. After it’s creased, unfold it.
Step 2:
Using the creases, pinch the sides of the dollar bill together, as shown below. Press from the top to crease into a triangle shape, when looking from above. It may not look like it yet, but you are well on your way to making your origami heart.
Step 3:
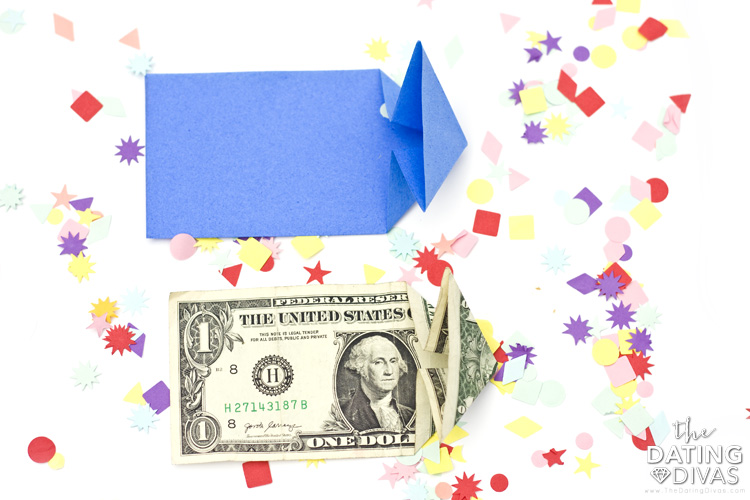
Fold the bottom corners of the triangle upward. Crease them up so they touch the top point of the triangle.
Step 4:
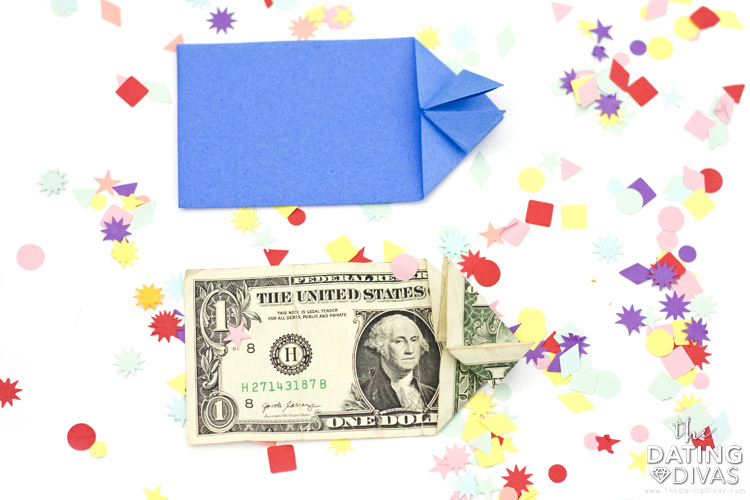
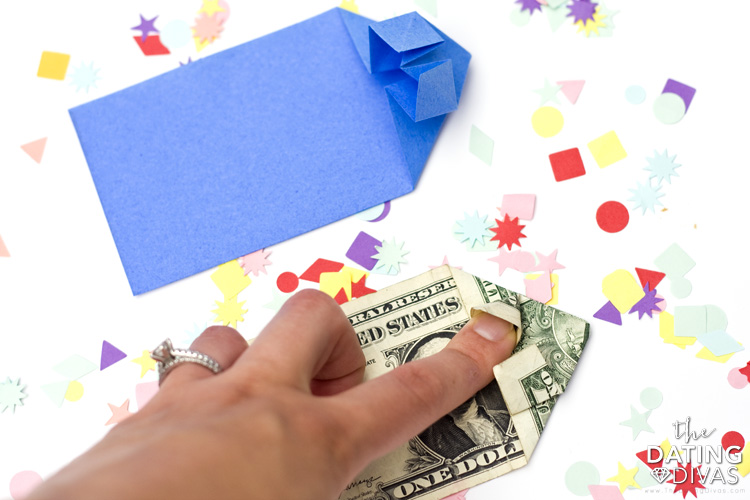
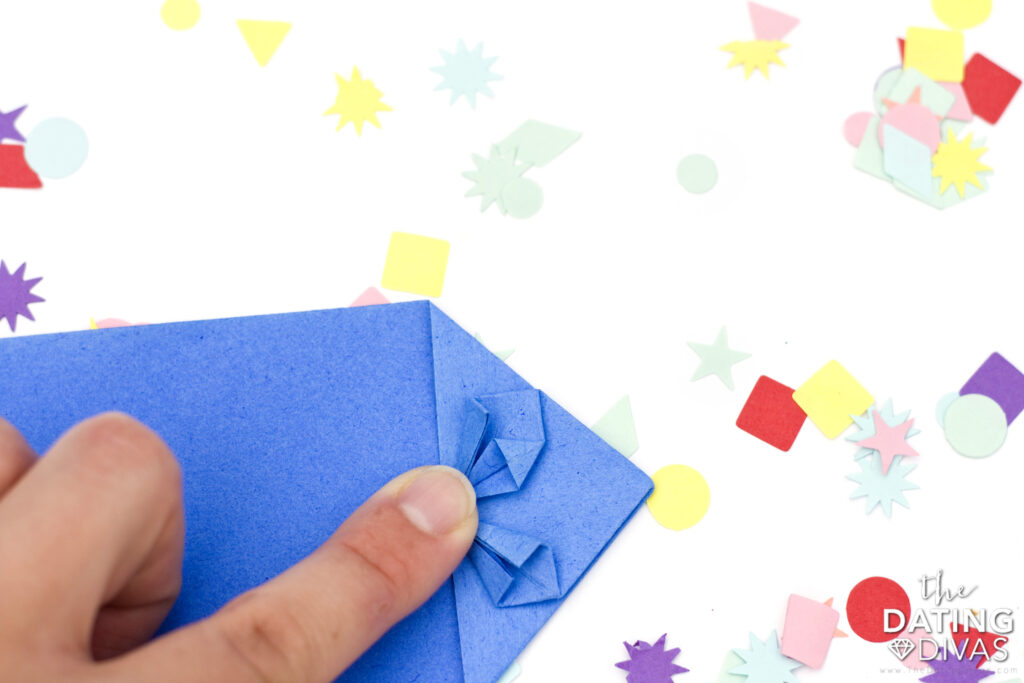
Place your finger in between the top and bottom layers of the most recent fold. Now, push on the top corner, squashing it down to make a square shape. Repeat for the other fold, creating two squares, side-by-side.
Step 5:
Grab the free corners of the square and crease each side to the center, creating a kite shape. Next, do another squash fold by carefully opening up the two layers you just creased and pushing down on the top point. Be careful to line up, and crease symmetrically, as shown below. Repeat the process of opening and squash folding until all 4 kites have been creased open.
Step 6:
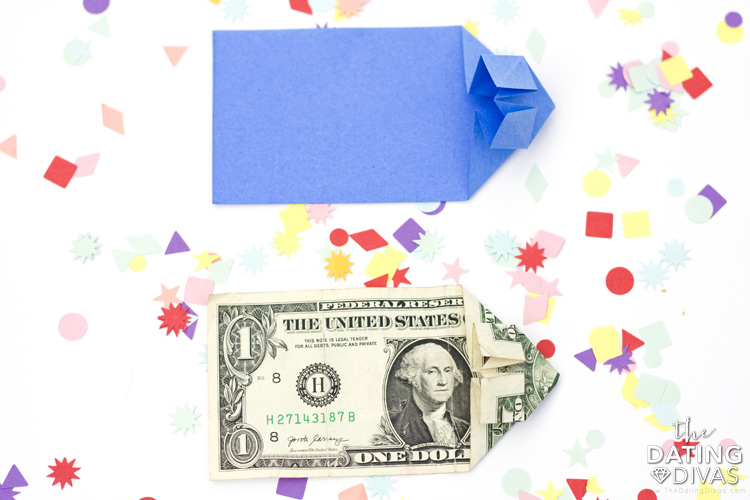
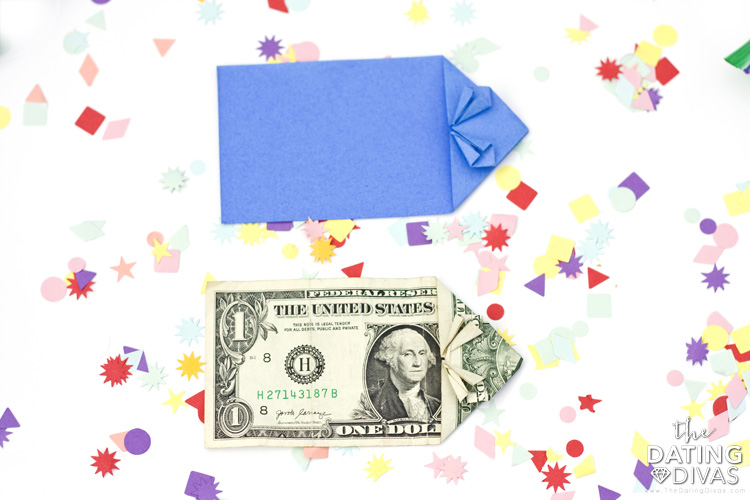
Repeat steps 1-5 on the other side. You will be creating two identical sides, as shown here.
Step 7:
Now that you have two symmetrical sides fold the left side backward at the base of the triangle. Next, grab the two corners of the fold you just made and pull them to align with the other side. Here is a back view of the fold you just made above. You’re almost done with your origami dollar heart!
Step 8:
The next step for your dollar bill origami heart is to fold in the little flaps that are sticking out in the back. Fold the flap over so it lines up with the outer edge. Now, tuck it into the center of the two layers, so it is not visible.
Step 9:
Flip your dollar bill origami heart over and fold the top point down to the bottom point. Crease it well! Flip it back over for the last step. You’re almost finishing learning how to make an origami heart!
Step 10:
The last step is to simply fold back the pointed edges, shown here. Crease hard, and you are done! To make it look extra formal and fancy, lay a heavy book on top of your dollar bill origami heart for a bit so it appears perfectly flat.
Easy Dollar Bill Origami Heart
See! That wasn’t so bad, right? This easy dollar bill origami heart tutorial can now be used for all sorts of reasons! You could leave it somewhere for your spouse to find, such as their pants pocket, in their car, or even just in their wallet. OR, you could even leave it as a tip on your next date night out! Marriage really is so much about the little things. Making a quick and easy origami heart is just one idea for a little thing you could do to show your love. Have fun! Now that you how how to make an origami heart, check out these other creative ways to make your spouse feel loved:
Love Coupons for Him 100 Reasons Why I Love You Cute Love Notes Showing Love to Husband Hot Love Letters for Him Love Sticky Notes Our Story Book Explosion Box Easy Romance Ideas Gift Ideas
